
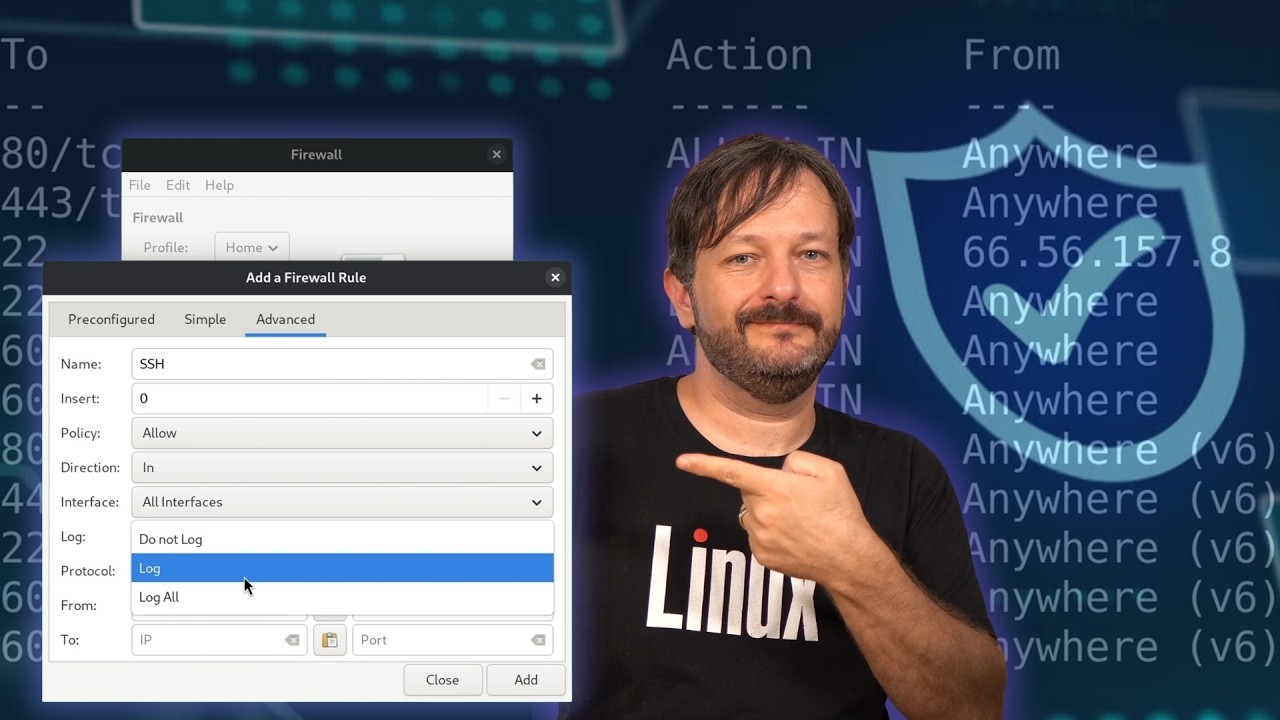
Learn how to secure an Ubuntu server with UFW (Uncomplicated Firewall) in this complete, hands-on Linux firewall tutorial. We’ll install UFW, configure secure default policies, create firewall rules, protect SSH, allow Apache traffic, limit connections, manage subnets and port ranges, enable logging, and explore the GUFW graphical interface.
Whether you’re a Linux beginner, system administrator, homelab enthusiast, or server administrator, this practical guide will help you understand how UFW works and how to use it safely. You’ll also learn the difference between deny and reject, how to check active rules, and how rate limiting can help protect SSH against brute-force attacks.
Basic Information and Tips
Before we dive into the hands-on portion, I want to cover a few foundational concepts to make sure we’re approaching this with the right mindset.
As you probably already know, the purpose of a firewall is to block unwanted access to your environment. Done correctly, it gives you meaningful control over which devices or networks can reach your systems — and it really does add a powerful layer of security.
But as I mentioned earlier, a lot of people don’t configure firewalls properly. Honestly, I think some of that goes back to Windows XP SP2, which was one of the first mainstream operating systems to ship with a firewall enabled by default. That was a positive step, but it also created a mindset that firewall protection is just a matter of flipping a switch. The problem is, if you don’t configure your firewall thoughtfully, it can end up being just as ineffective as not having one at all.
To set up a firewall properly, you’ll want to start by defining your default policies, then create exceptions as needed in the form of firewall rules. Those rules can allow access to a service from anywhere, or restrict it to specific IP addresses — and that distinction is important.
A common mistake is implementing a firewall and then simply allowing every service on the server to be accessible. If a server is running both SSH and a web server, someone might open both up without giving it much thought. The better approach is to think carefully about who actually needs access to each service. For a web server, it makes perfect sense to allow the public to reach port 80 and 443 — but SSH is a different story. Access to critical services like SSH should be restricted to only the IPs or networks that legitimately need it.
Another thing worth thinking about is where your firewall lives. UFW is a solid option for host-based firewalling, but it’s not the only approach. Cloud platforms like Akamai Cloud Computing (formerly Linode) have built-in network-level firewalls, and virtualization platforms like Proxmox have their own firewall implementations as well. So which should you use?
Platform firewalls are well-integrated and work great within their respective ecosystems — but that’s also their limitation. If you invest time learning a cloud provider’s built-in firewall, that knowledge doesn’t transfer when you move to a different provider. UFW, on the other hand, is available on most Linux distributions, so what you learn here applies just about everywhere. It also integrates well with configuration management tools like Ansible, which means you can automate your entire firewall setup as part of a broader provisioning workflow.
That said, there’s no universally wrong answer — use whatever fits your environment best. They can even complement each other.
With that foundation in place, let’s get into UFW itself.
Basic Examples
So, let’s go ahead and get started.
In this example, I’m going to show you the process of setting up UFW on a Linode instance. But honestly, it doesn’t really matter where your Linux server is hosted because the commands I’ll be showing you are portable and work across most Linux environments.
That said, before we begin configuring anything, one thing I strongly recommend is opening up a console connection to the server first.
Most cloud providers and virtualization platforms include some kind of remote console or virtual display feature that lets you access the machine directly even if networking stops working. That’s important because firewall mistakes can potentially lock you out of the server entirely.
Hopefully that won’t happen here, but it’s always good to have a backup access method available just in case.
In Linode specifically, I can open the LISH console, which gives me direct console access to the server. I’ll leave that open on another workspace while I perform the rest of the setup through SSH inside my terminal.
That way, if I accidentally block my SSH connection, I still have a way to fix things.
Anyway, now let’s go ahead and install UFW.
Most Linux distributions don’t include it by default, so we’ll install it manually:
sudo apt install ufwAt this point, UFW is installed — but right now it isn’t actually doing anything useful yet.
In fact, by default, UFW starts off disabled entirely.
We can confirm that by checking the current status:
sudo ufw statusNow technically we could enable the firewall immediately, but honestly it’s much better to create your firewall rules first before turning it on.
That way, we avoid accidentally locking ourselves out.
So before enabling UFW, let’s start building some initial configuration.
And the first thing we’ll configure is our default policies.
Default policies determine what happens to incoming or outgoing traffic when no explicit firewall rule exists for that traffic.
Basically:
- we define the overall default behavior first
- and then create exceptions afterward using firewall rules
In most cases, I recommend:
- denying incoming traffic by default
- while allowing outgoing traffic
And the reasoning is fairly straightforward.
Your server will almost certainly need to:
- download updates
- access repositories
- connect to APIs
- resolve DNS
- and communicate outward normally
So outbound traffic initiated by the server itself is generally safe and necessary.
Incoming traffic is the opposite. Connections originating from untrusted networks are potentially dangerous, so it’s generally safer to block them by default unless you’ve explicitly decided to allow them.
So let’s configure those defaults now:
sudo ufw default deny incoming
sudo ufw default allow outgoing
And now if we check the status again:
sudo ufw statusAt this point, we’ve successfully configured our default policies, but the firewall still isn’t active yet and we also haven’t created any rules.
So right now, we’re basically just preparing the foundation.
Now before we move on, I want to quickly explain the difference between deny and reject, because this is something a lot of people overlook.
When traffic is blocked using deny, the remote system typically receives no response at all. The connection simply times out silently.
With reject, the traffic is still blocked, but the remote system receives an explicit notification that the connection was rejected.
And honestly, in most cases I prefer deny because it reveals less information about the server itself. A silent timeout gives less feedback to potential attackers than an explicit rejection response.
Anyway, now that we’ve configured our default policies, let’s start creating some actual firewall rules.
And the first thing we should allow is SSH access, because that’s usually how we remotely manage Linux servers in the first place.
For now, I’m going to allow SSH from anywhere just as a simple example:
sudo ufw allow sshNow to be clear, allowing SSH globally is generally not considered best practice. Ideally, SSH should be restricted to specific trusted IP addresses or networks.
But for now, we’ll keep it simple initially and tighten it down properly a little later.
At this point, since we’ve allowed SSH access, it’s now reasonably safe to enable the firewall.
Again though, make sure you still have that separate console session open before doing this.
To enable UFW:
sudo ufw enableAnd then verify the status:
sudo ufw statusNow as a quick aside:
If you ever need to temporarily disable the firewall entirely, you can do this:
sudo ufw disableAnd if you ever want to completely wipe all firewall configuration and start over from scratch:
sudo ufw resetNow let’s look at another very common firewall use case: allowing access to a web server.
For example, maybe you’re hosting a website using Apache or NGINX.
In that situation, allowing inbound web traffic from the public internet usually makes perfect sense.
So to demonstrate this, I’ll install Apache first:
sudo apt install apache2Now Apache is installed, but if we try accessing the website right now, it won’t work.
(Show browser connection failure)
And the reason is simple:
Our default incoming policy is currently set to deny, and we haven’t created any firewall exceptions for web traffic yet.
So let’s fix that now:
sudo ufw allow 80/tcp
sudo ufw allow 443/tcp
Here we’re explicitly allowing:
- port 80 for HTTP
- port 443 for HTTPS
Now alternatively, UFW also supports service names for many common applications, so we could’ve written the same thing like this:
sudo ufw allow http
sudo ufw allow https
Either approach works fine.
And now if we reload the website:
(Show website loading successfully)
At this point, the site should be reachable.
Now next, I want to go back and improve our SSH rule because earlier we allowed SSH access from everywhere, which again isn’t ideal.
Instead, let’s restrict SSH access to a trusted IP address.
First, you’ll need to determine your public IP address. A quick way to do that is by visiting:
If your server is local rather than cloud-hosted, then you’d typically allow the IP address of your workstation or management network instead.
Here’s an example of restricting SSH access to a single IP:
sudo ufw allow from 192.168.1.50 to any port 22So what we’re doing here is allowing SSH connections only when they originate from that specific IP address.
Now unfortunately, we currently have a problem:
sudo ufw statusWe now have two SSH-related rules:
- the original rule allowing SSH globally
- and the new restricted rule
But since the old rule still allows access from everywhere, we need to remove it.
So let’s see how to manage existing rules properly.
First, let’s display the rules in numbered format:
sudo ufw status numberedNow every firewall rule has a number next to it, which makes management much easier.
To delete the older SSH rule:
sudo ufw delete 3And now our SSH configuration is significantly more secure.
At this point, you’ve already seen:
- default policies
- enabling/disabling the firewall
- allowing services
- restricting access by IP
- and deleting firewall rules
From here, the general process becomes:
- identify the services your server needs
- determine who should legitimately access them
- and then create firewall rules accordingly
Now with that said, there’s still quite a bit more UFW can do.
For example, one feature many people don’t know about is connection limiting.
The idea behind limiting is that repeated connection attempts can sometimes indicate malicious behavior such as brute-force attacks.
UFW can automatically rate-limit connection attempts like this:
sudo ufw limit sshWith this enabled, repeated SSH connection attempts from the same IP will eventually trigger temporary blocking behavior.
That’s actually a really useful feature and incredibly easy to implement.
You can also allow entire subnets rather than single IP addresses.
For example:
sudo ufw allow from 192.168.1.0/24 to any port 22
And in addition to that, sometimes applications require entire ranges of ports rather than individual ports.
For example:
sudo ufw allow 6000:6007/tcp
sudo ufw allow 6000:6007/udp
Now another important feature worth talking about is logging.
UFW supports multiple logging levels depending on how much detail you want captured.
First, let’s check the current logging configuration:
sudo ufw status verboseIn my case, the default logging level is set to low.
The different logging levels behave roughly like this:
lowlogs blocked packets and basic policy violationsmediumadds additional connection details and rate-limited activityhighbecomes much more verbosefulllogs essentially everything without rate limiting
And depending on your environment, you may want more or less verbosity.
To configure logging:
sudo ufw logging onSet specific logging levels:
sudo ufw logging low
sudo ufw logging medium
sudo ufw logging high
And to watch firewall events live:
sudo journalctl -k -f | grep UFWFinally, before we wrap up, I want to show you one last really useful feature of UFW: application profiles.
Application profiles are essentially prebuilt firewall presets for common services.
To list available profiles:
sudo ufw app listAnd to see details about a specific profile:
sudo ufw app info 'Nginx Full'Then if you decide to use it:
sudo ufw allow 'Nginx Full'And honestly, features like that make UFW especially convenient because they simplify firewall configuration significantly while still keeping the process flexible and powerful.