NFS (Network File System) is a fantastic way to share files between Linux and UNIX machines. In this video, Jay walks you through the process of setting up an NFS server on Ubuntu, complete with a walkthrough on mounting the exports. Not only that, you’ll see how you can utilize AutoFS for on-demand mounting as well.
Commands used in this video
Check that the server is running Ubuntu 22.04
Since this tutorial is based on Ubuntu 22.04, the commands may not work on other distributions (Debian is probably okay). To check your distribution version, run:
cat /etc/os-releaseCreate a base directory for NFS
We should create a directory to use as the base directory for NFS exports. The following command will create the directory used in the video:
sudo mkdir /exportsInside that directory, I’ll create two subdirectories for two example shares.
sudo mkdir /exports/backupsudo mkdir /exports/documentsInstalling the required package for the server
Let’s install the package required to transform our server into an NFS server:
sudo apt install nfs-kernel-serverNext we’ll check the status of the NFS service to ensure it’s running and didn’t run into any problems:
systemctl status nfs-kernel-serverSetting up the /etc/exports file
Now that we have NFS installed, we’ll need to create a config file that will tell NFS which directories we wish to share. A default file already exists and was created for us when we installed NFS:
cat /etc/exportsWhat I’ll do is make a backup copy of that file. Sure, there’s not much inside it, but just in case any of that info might be useful later, we should consider making a backup of it. I’ll just move it to a new name, since I’ll be creating the file from scratch:
sudo mv /etc/exports /etc/exports.origNow, let’s open up an editor and create a /etc/exports file:
sudo nano /etc/exportsThe following example lines will set up our exports. (Be sure to change the IP address and paths to match your environment).
/exports/backup 10.10.10.0/255.255.255.0(rw,no_subtree_check)
/exports/documents 10.10.10.0/255.255.255.0(rw,no_subtree_check)
Each line is an export, or a shared directory basically. The configuration is space delimited, which means a space separates one section from another. But there’s only two sections on each line.
The first section is the full path on the filesystem that we wish to share with each particular export. After that, we have a set of options.
The first of those options is a network subnet. This is the network that will be allowed to access the share. So on your end, this will probably be different, so you should change this to match yours. You can actually remove the IP address and subnet mask here, if you wish to make the share wide open. I don’t recommend that (but it’s your server).
In parenthesis, I have a set of options, each separated by a comma. First, I have rw for read/write, which tells NFS that we want others to be able to change the contents within the directory. We could change it to ro, if we wanted read-only instead.
The no_subtree_check option disables the parent directory of the export from being a part of the file handle. This is a relatively advanced concept, but basically what we’re doing is disabling subtree checking in favor of security, because threat actors can actually use parent directory information against us. (A shorter summary is that it helps security a bit, and I recommend the option).
We should now restart the NFS service so the changes will be applied:
sudo systemctl restart nfs-kernel-serverAnd of course, we’ll check the status of the service to ensure it didn’t explode or anything:
sudo systemctl status nfs-kernel-serverNow, our NFS server is complete!
Setting up a client to access our NFS server
To enable our ability to mount NFS shares, we’ll need to install the NFS client:
sudo apt install nfs-commonNow that we have that installed, this server now has the ability to mount NFS shares. But before we go too far, we should make sure that the client is able to read a list of shared directories from the server. Without it being able to do that, nothing we’re going to attempt to do will work.
showmount --exports 10.10.10.222With that command, you should replace the IP address I’m using with whatever the IP address is of your server. If you don’t know, you can run the following command on the server:
ip addr showWhatever IP address shows here, that’s the one you’ll need to refer to when it comes to your server. Just make sure you use the correct IP anywhere the IP address is typed.
Next, we’ll need a place on the filesystem to mount the exports. On the client, I’ll create those directories now:
sudo mkdir /mnt/nfsI created the /mnt/nfs directory to serve as the parent directory for any NFS shares I might want to access. I’ll also create a subdirectory for each of the exports I want to mount:
mkdir /mnt/nfs/backupmkdir /mnt/nfs/documentsNow that we have a place to mount the directories that our server is sharing, we can actually mount them. First, we can run the df command to see what’s mounted right now:
df -hLet’s mount one of the shares from the server:
sudo mount 10.10.10.222:/exports/backup /mnt/nfs/backupIf we run df -h again, we should see the export is mounted and accessible.
Let’s mount the other export now:
sudo mount 10.10.10.222:/exports/documents /mnt/nfs/documentsAnd now both are mounted!
ls -l /mnt/nfs/documents
When we’re finished with a mount, we can unmount it with the umount command:
sudo umount /mnt/nfs/backupsudo umount /mnt/nfs/documentsOn-demand NFS mounting with AutoFS
What if you want the NFS exports to be mounted dynamically? AutoFS lets us do exactly that. Let’s give it a try!
First, what I’ll do, on the client, is install the autofs package:
sudo apt install autofsNext, we’ll check the status:
systemctl status autofsWhen we install AutoFS, there’s a number of config files in the /etc directory it creates for us.
The /etc/auto.master is the main config file, the first one AutoFS reads when it starts up. Let’s open up that file and change the contents:
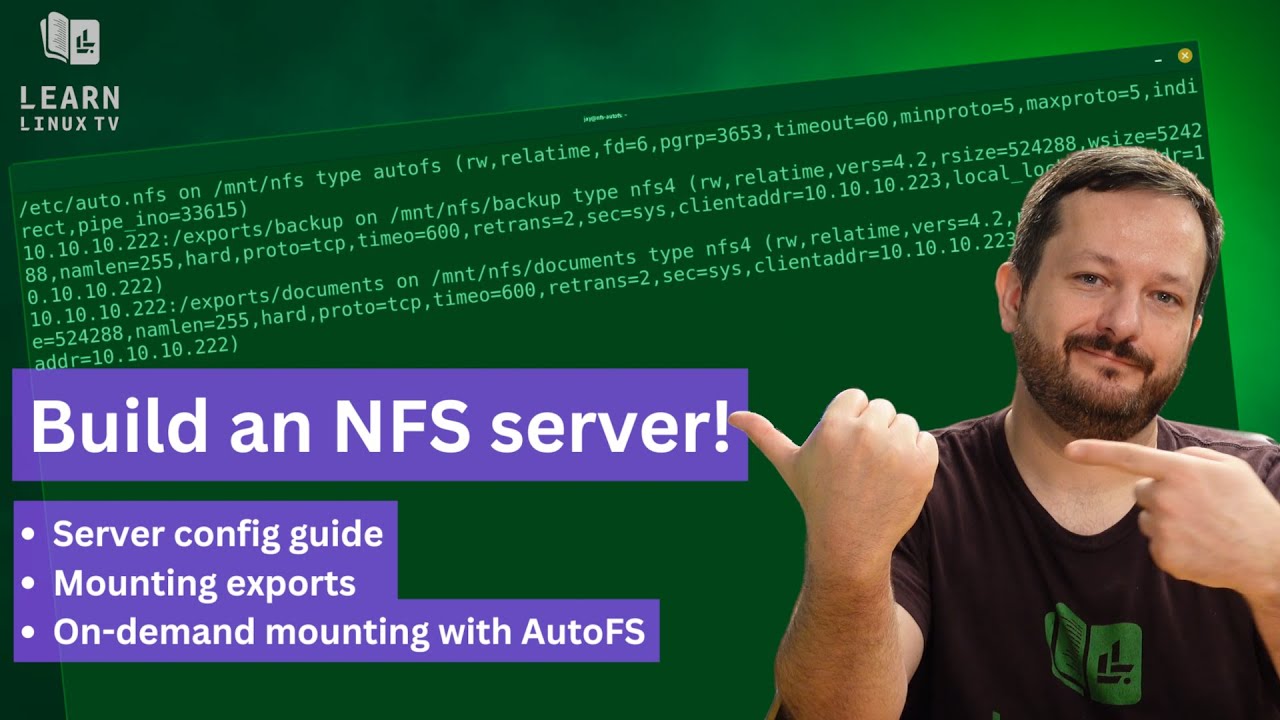
/mnt/nfs /etc/auto.nfs --ghost --timeout=60So let’s go through what I’m doing here. The first section of the config line is the directory that will be the parent directory for all the shares. After that, we’re pointing AutoFS to another config file, /etc/auto.nfs. We’ll be creating that one shortly, but here, we’re telling AutoFS to pay attention to that file.
The --ghost option ensures that the directories for each share are created by AutoFS, even when they’re not mounted. Finally, we’re setting a timeout of 60 seconds. After 60 seconds of inactivity, the directory will be unmounted.
Also, we’re not going to need the subdirectories we’ve created. Let’s make sure that they’re not mounted:
df -hWe’re going to remove the local mount directories on the client so we’ll want to make sure the mounts are unmounted before we continue. So check the output of the df command as well as the mount command to be sure. Assuming your exports aren’t mounted, remove the directories on the client:
sudo rm -r /mnt/nfs/backupsudo rm -r /mnt/nfs/documentsThe reason why we don’t need those directories anymore, is because AutoFS is going to maintain them going forward, since we used the --ghost option.
Next, let’s edit the /etc/auto.nfs file and add our NFS exports there.
sudo nano /etc/auto.nfsInside that file, I’ll place the following:
backup -fstype=nfs4,rw 10.10.10.222:/exports/backup
documents -fstype=nfs4,rw 10.10.10.222:/exports/documents
The first section of each config line is the name of the directory we would like the export mounted to. With the --ghost option, the directory here will be created for us. Next, we have a number of options, such as setting the filesystem type to nfs4, granting read and write capabilities, and then finally we have the IP address, colon, and a path to the exported directory. We’ll need the path here to match what it actually is on the server.
Save the file, and then restart autofs:
sudo systemctl restart autofsLet’s run df -h to see what we have mounted now (they shouldn’t be, at least not yet):
df -hThe way that AutoFS works, your NFS shares are not mounted until a user or process attempts to access them. When an application attempts to even so much as list the contents of one of those directories, it will automatically trigger the directory to be mounted on the spot. It’ll happen so fast, that the app will never be aware that it was ever not mounted.
To test this, list the contents of the parent directory or one of the exports:
ls -l /mnt/nfsSince listing the contents of even the base directory requires information to be displayed from the exports, we should see that this triggers a mount to happen:
df -hOnce the shares become idle, they will automatically unmount. Once you go to access them, AutoFS will mount the directories again.
And that’s about it, hopefully this article/video has helped you out!
