
Alacritty is a blazing fast, GPU-accelerated terminal emulator for Linux — and in this guide, I’ll show you how to install and configure Alacritty step-by-step.
If you’re looking to upgrade your Linux terminal setup, this tutorial walks through everything you need to know: what makes Alacritty different, how its configuration works, and how to customize it.
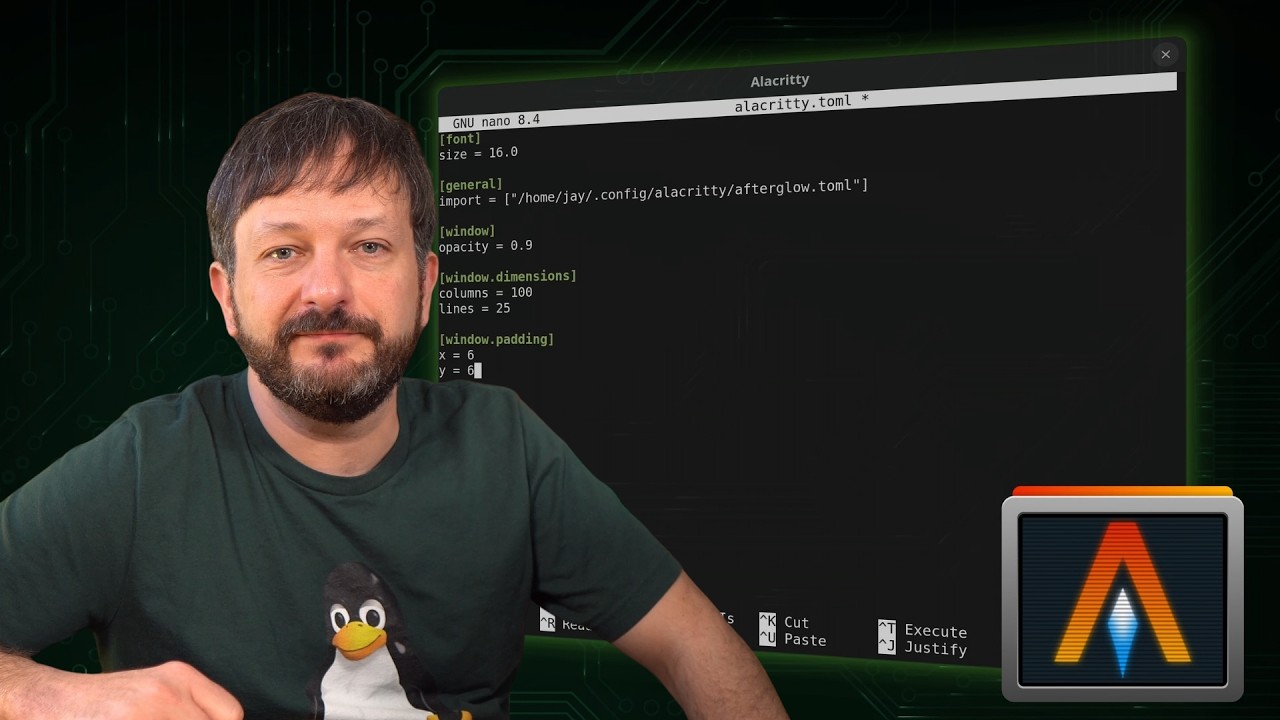
My favorite terminal Emulator (Alacritty)
What is it?
Let’s start by talking about what Alacritty is, who it’s for, and why you might choose it over other terminal emulators.
There’s no shortage of terminal emulators on Linux. Most distros ship with one by default, and there are plenty of alternatives like Konsole, Tilix, and others. Some terminals even lean into novelty, such as Cool Retro Term, which focuses more on appearance than productivity. It literally looks like a retro terminal!
Where Alacritty stands out is its simplicity. Many terminal emulators are very full-featured, offering splits, menus, and extensive settings. That’s great if you use those features—but if you don’t, they can feel like unnecessary complexity. Alacritty takes the opposite approach. It intentionally avoids feature bloat and focuses on being a fast, predictable terminal that stays out of your way.
It’s worth pointing out that Alacritty does not include things like tabs, window splits, or session management. For me, that’s not a problem because I use tmux for all of that. tmux handles splits, sessions, tabs, and more, and it works the same whether I’m in a graphical terminal or connected over SSH. Because of that, I don’t need my terminal emulator to provide those features.
That puts Alacritty squarely in its target audience: intermediate to advanced users who spend a lot of time in the terminal and already have a workflow in place. It’s especially well-suited for homelab users, system administrators, and people working in DevOps. If you only use the terminal occasionally, Alacritty may feel too barebones.
One notable feature Alacritty does include is GPU-accelerated rendering. Using the GPU for a terminal might sound unusual, but it results in a very smooth and responsive experience, especially when handling a lot of output. While it’s not something everyone will care about, it’s a nice bonus.
Configuration is another area where Alacritty is very opinionated. There’s no graphical settings panel—everything is configured through a single config file. That can be a downside for some users, but the upside is portability. Once you’ve tuned your config, you can copy it to any system and get the same experience instantly. It also makes automation easy, which is why I deploy my Alacritty config automatically with Ansible.
At first glance, a minimal terminal with manual configuration might sound like a hard sell. But for users who value simplicity, portability, and focus, Alacritty offers real advantages by doing less—and doing it well.
Installation
If you want to try Alacritty for yourself, setting it up is pretty straightforward. It’s available on Linux, macOS, and Windows, so even if you don’t use Linux full time, you can still use Alacritty.
On Windows and macOS, installation is simple. You just download the installer from the official site and run it, like you would with any other application. I’ll have the download link in the description, but there’s nothing unusual about the process.
On Linux, things are usually just as easy. Most major distributions include Alacritty in their default repositories, which means you can install it using your package manager—such as apt or dnf—just like any other package.
That said, “most” doesn’t mean “all.” While distributions like Debian, Ubuntu, and Fedora package Alacritty, others don’t. For example, when I tried installing it on AlmaLinux 10, it wasn’t available in the repos. In cases like that, you can build Alacritty from source, and there are plenty of guides that walk through the process.
Personally, though, I tend to avoid compiling applications like this unless I really have to. It often means pulling in extra libraries and dealing with a more manual setup, and at that point it can be easier to just choose a different terminal emulator. But if Alacritty is available for your distro, it’s lightweight, easy to install, and definitely worth trying out.
Configuration
Once Alacritty is installed, you can use it as-is or customize it. Even though Alacritty doesn’t expose settings through a graphical interface, its configuration file gives you a lot of control. That said, starting from scratch can feel overwhelming, especially if you’re not used to editing config files.
To make this easier, I’ll walk through creating a quick config file. Then, you can add additional tweaks to your config file as you go along. And that’s how most people end up using tools like this anyway—they start with an existing config and then tweak it to fit their own workflow. You’re welcome to do the same with mine.
Before we get into my config, let’s talk about how Alacritty handles configuration in general. When Alacritty starts, it looks for a config file and loads it if one exists. By default, though, no config file is created, so Alacritty simply falls back to its built-in defaults.
On this computer, I’ve already installed Alacritty. I’m running Pop!_OS, so installing it was as simple as using APT. Once it’s installed, you’ll have an Alacritty icon you can launch like any other application. If you want to follow along, go ahead and install Alacritty now.
When you first open it, Alacritty will start with those default settings. One of the locations it checks for a config file is inside your home directory, under the .config directory. Next, we’ll create a simple config file there so you can see how the process works.
To create the directory that will contain our config file, we’ll run the following command:
mkdir -p ~/.config/alacrittyAnd now that we’ve created that directory, I’ll create the config file:
cd ~/.config/alacrittytouch alacritty.tomlAnd now, we’ve created Alacritty’s config file, but the touch command just creates an empty file, so let’s open it up and add some configuration:
nano alacritty.tomlInside this file, we’ll include some basic config. And I’ll paste in my config file right here. You’ll find this config file linked in the description below.
As you can see, I don’t have a ton of settings here, just the ones I actually need.
Although this config file is relatively simple and there’s not a lot going on, it should give you a really good starting point. You can check the documentation for additional tweaks, or you can even browse Github for example configs to see how other people configure it.
Overall
At the end of the day, Alacritty is a terminal emulator—and a deliberately simple one. Because of that, there isn’t a whole lot more to say about it, and this review ends up being shorter than most.
That said, Alacritty is an excellent terminal emulator. It’s definitely not for everyone, especially since it relies on manual configuration, but in my opinion that’s one of its biggest strengths. With Alacritty, I only add the settings I actually care about, as I need them. Nothing is forced on me, and the terminal ends up behaving exactly the way I want it to. That config-file approach also makes it easy to reproduce my setup on any machine.
If you prefer a terminal emulator that comes fully loaded with features and graphical settings, Alacritty probably isn’t the right choice. But there’s a clear audience for a terminal that stays out of the way and puts you in control. I very much fit that audience, and Alacritty has worked so well for me that I haven’t felt the need to use anything else in a long time. If you value simplicity and control, there’s a good chance you’ll feel the same way.
Alacritty Config File
Save this file under $HOME/.config/alacritty/alacritty.toml:
[font]
size = 16.0

[general]
import = ["/home/jay/.config/alacritty/afterglow.toml"]

[window]
opacity = 0.9

[window.dimensions]
columns = 100
lines = 25

[window.padding]
x = 6
y = 6
Color Scheme
Save this file under $HOME/.config/alacritty/afterglow.toml:
[colors.bright]
black = "#636363"
blue = "#7eaac7"
cyan = "#86d3ce"
green = "#909d63"
magenta = "#aa6292"
red = "#bc5653"
white = "#f7f7f7"
yellow = "#ebc17a"

[colors.cursor]
cursor = "#d9d9d9"
text = "#2c2c2c"

[colors.dim]
black = "#232323"
blue = "#556b79"
cyan = "#5c8482"
green = "#5e6547"
magenta = "#6e4962"
red = "#74423f"
white = "#828282"
yellow = "#8b7653"

[colors.normal]
black = "#1c1c1c"
blue = "#7eaac7"
cyan = "#86d3ce"
green = "#909d63"
magenta = "#aa6292"
red = "#bc5653"
white = "#cacaca"
yellow = "#ebc17a"

[colors.primary]
background = "#2c2c2c"
bright_foreground = "#d9d9d9"
dim_foreground = "#dbdbdb"
foreground = "#d6d6d6"